

Key Takeaways
- Breaking in hiking boots is essential for avoiding blisters, discomfort, and injuries, while ensuring better performance on varied terrains.
- Proper preparation includes selecting the right fit, inspecting boots for issues, and gathering supplies like hiking socks, blister pads, and conditioners.
- Start the break-in process with indoor methods, such as walking at home, and gradually transition to outdoor short walks before increasing distance and load.
- Common mistakes to avoid include skipping the break-in process, wearing improper socks, overloading weight too soon, and using heat to soften boots.
- Well-broken-in boots feel comfortable, flexible, and supportive during extended use, with no pinching, rubbing, or hotspots.
Nothing ruins a hike faster than painful blisters and sore feet from stiff new boots. I’ve been there—excited to hit the trail, only to end up limping back before the adventure even began. Breaking in hiking boots might not sound exciting, but trust me, it’s the key to comfortable and enjoyable hikes.
Why Breaking In Hiking Boots Is Important
Breaking in hiking boots ensures better comfort and prevents injuries during hikes. New boots often have stiff materials that can cause friction, leading to blisters, hot spots, or even bruising. Adjusting the fit of the boots to your feet reduces the risk of discomfort.
Well-broken-in boots improve performance on trails. They flex with your movements and adapt to different terrains more effectively. Without breaking them in, boots might feel restrictive, affecting your balance and stability.
Feet tend to swell during long hikes. Boots that haven’t been broken in can feel tight and unyielding in these situations. Gradual breaking-in allows the materials to conform to your foot shape, accommodating these changes.
Breaking in boots also identifies potential issues early. You can spot fit problems, like areas that pinch or rub, before heading out on a long hike. Resolving these issues beforehand creates a more enjoyable outdoor experience.
Preparation Before Breaking In Hiking Boots
Careful preparation before breaking in hiking boots makes the process smoother and more effective. Proper planning ensures comfort and prevents issues during hikes.
Choosing The Right Fit
Getting the right fit is essential. I recommend trying boots on in the afternoon when feet are slightly swollen, as this mimics conditions during a hike. Wear hiking socks, and check for enough room in the toe box while ensuring your heel stays secure. A snug yet comfortable fit helps prevent blisters and discomfort later.
Inspecting Your Boots
Careful inspection reveals any potential issues before use. I look for uneven stitching, loose eyelets, or sharp edges that could irritate or rub during hikes. Flexing the sole slightly helps identify stiffness, and checking the inner lining ensures no rough spots that’ll cause discomfort.
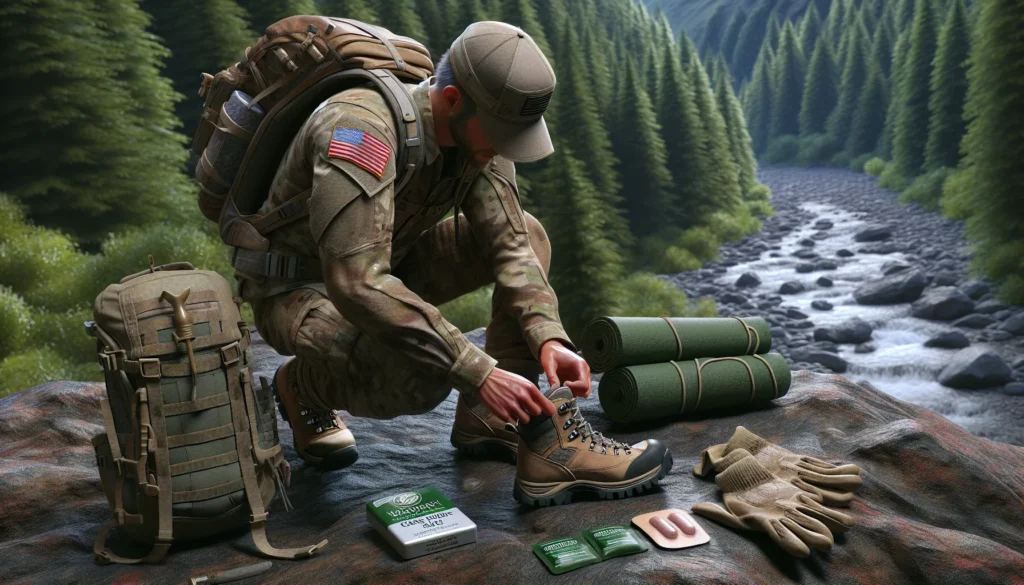
Gathering Necessary Supplies
Having the right supplies prepares you for the breaking-in process. I keep hiking socks, moleskin, and blister pads handy to address any irritation during early wear. A leather conditioner or boot oil works well for softening leather boots, while waterproofing spray protects materials if needed. Using these tools from the start maximizes comfort and durability.
Techniques To Break In Hiking Boots

Breaking in hiking boots requires gradually introducing them to your feet and activities. I follow simple yet effective methods to ensure my boots feel comfortable and supportive before hitting rugged trails.
Indoor Methods
I start indoors to test my boots without risking blisters. Walking around my home or on a treadmill for 20–30 minutes helps me assess tight spots or discomfort while keeping the environment controlled. Wearing the socks I plan to hike in ensures an accurate fit. For leather boots, I gently flex the sole and upper by hand to soften stiff areas, which helps them mold to my feet.
When I notice specific pressure points, I add moleskin or blister pads to reduce friction. Continuing this routine daily for about a week gradually loosens the material. I also use leather conditioner on full-grain leather boots to enhance pliability and improve fit.
Outdoor Methods
Once my boots feel manageable indoors, I step outside for short walks. I choose even surfaces like sidewalks or flat trails to focus on how the boots handle basic movement. To minimize discomfort, I only wear them for 30–60 minutes initially. Hiking socks and laced boots help prevent slipping inside the shoe, which reduces rubbing.
If there’s stiffness in certain spots, I pause to adjust the laces, ensuring an even distribution of pressure. Consistently spending a few days on light outdoor sessions lets the boots adjust to varied surfaces without overwhelming my feet.
Gradually Increasing Distance And Load
After initial indoor and outdoor trials, I increase my walking distance and add weight progressively. Carrying a lightweight backpack during these sessions allows the boots to adapt to load-bearing hikes. Starting with 1–2 miles helps me gauge their support level before moving onto longer walks.
Over time, I add more weight to the pack and increase distances by a mile or two. This process, spread across several weeks, ensures the boots align with my hiking needs. By fully adapting them to longer distances and heavier loads, I avoid discomfort on challenging trails.
Common Mistakes To Avoid
Skipping the breaking-in process can lead to discomfort. Wearing brand-new boots on a long hike might cause painful blisters and hot spots. Breaking in boots gradually ensures they conform to your feet.
Ignoring proper socks reduces effectiveness. Wearing casual or ill-fitting socks during the break-in process can alter the fit and create friction. Using hiking socks ensures accurate testing of comfort and fit.
Overloading weight too soon stresses the boots. Adding a heavy pack during initial outdoor walks can strain stiff materials, leading to quicker wear and potential damage. Start with a light backpack and increase gradually.
Using heat methods damages materials. Applying excessive heat, like using a hairdryer or placing boots near a fire, can weaken adhesives and distort the shape. Stick to natural wear during walking to soften materials.
Neglecting to adjust laces creates pressure points. Loose or uneven lacing can lead to discomfort and unbalanced support. Adjust the laces properly for even pressure across the foot.
Rushing the process might cause injuries. Wearing boots for extended hikes before they’re fully broken in can lead to foot soreness or ankle pain. Take time to break them in with short, controlled walks.
How To Know When Your Hiking Boots Are Broken In
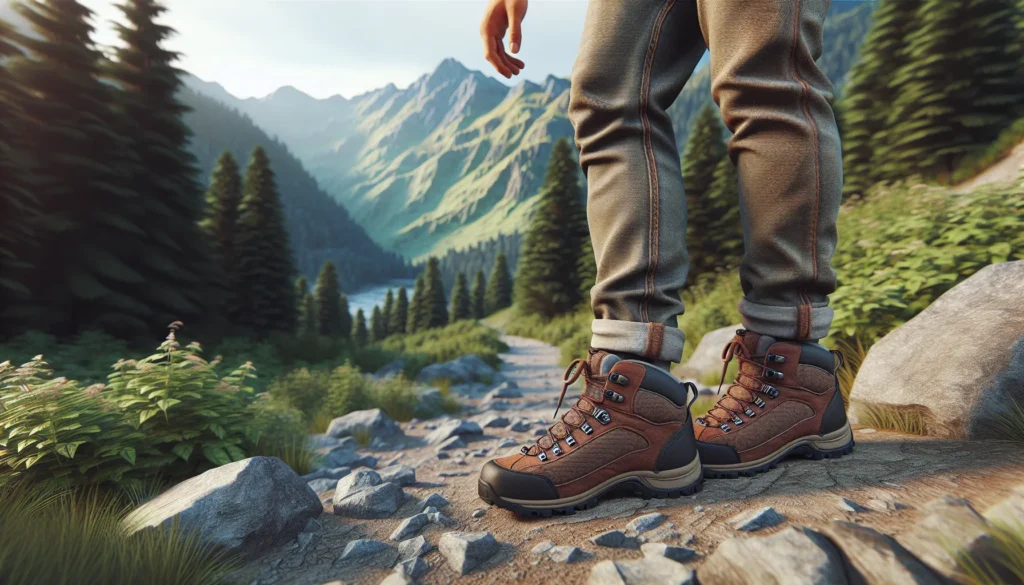
Hiking boots are broken in when they feel comfortable during extended use without causing discomfort or hotspots. If I can wear them for several hours on varied terrain without needing to adjust the fit or lacing, that’s a good sign. The boots should flex naturally with my feet, reducing stiffness and resistance while walking.
Comfort is key. If my boots don’t pinch, rub, or cause blisters after a multi-hour hike, they’re ready for longer adventures. I also pay attention to how my feet feel after wearing them; any lingering soreness may mean they’re not fully broken in yet. Testing them with a loaded backpack can confirm the fit under realistic hiking conditions.
The boots’ material becomes softer and more pliable over time. For example, leather uppers feel less rigid, and the soles adapt to my walking style. I look for creases in areas like the forefoot, which show that the boots are molding to my stride.
Lastly, I check for consistent grip and ankle support on uneven trails. Broken-in boots should stabilize and support my steps instead of making my movements feel awkward.
Conclusion
Breaking in hiking boots might take some time, but it’s absolutely worth the effort. Your feet will thank you when you’re out on the trail, enjoying the scenery without worrying about blisters or discomfort. With a little patience and the right approach, those stiff new boots will become your most reliable hiking companions. Happy hiking!
Frequently Asked Questions
Why should I break in my hiking boots before hiking?
Breaking in hiking boots ensures comfort, prevents painful blisters, and reduces the risk of injuries. New boots are often stiff and can cause discomfort or hotspots during hikes. Breaking them in allows the materials to soften, conform to your foot shape, and adapt to different terrains, ensuring a smoother hiking experience.
How long does it take to break in hiking boots?
The breaking-in process can take anywhere from a few days to several weeks, depending on the materials and quality of the boots. Lightweight boots may require less time, while heavy-duty leather boots typically need more extensive effort before becoming comfortable.
What are some indoor methods to break in hiking boots?
Start by wearing your boots indoors for 20–30 minutes at a time while wearing your hiking socks. Walk around the house or on a treadmill and flex the soles gently to soften stiff areas. Use moleskin or blister pads to address any pressure points and consider applying leather conditioner for leather boots.
When should I start taking my boots outside during the break-in process?
Once your boots feel comfortable indoors, transition to short outdoor walks on even surfaces. Gradually increase the walking duration to 30–60 minutes over a few sessions. This step prepares the boots for longer hikes while ensuring they adapt to outdoor conditions.
What should I wear when breaking in hiking boots?
Wear the same hiking socks you plan to use on the trail. The appropriate socks ensure the boots fit properly and help prevent friction, blisters, or discomfort during the breaking-in process.
Can I break in hiking boots faster by using heat?
Using heat methods, such as placing boots in a dryer or using a heat gun, is not recommended. Heat can damage the boot materials, decreasing their durability and performance. Stick to gradual breaking-in techniques for the best results.
How do I know my hiking boots are properly broken in?
Your boots are broken in when they feel comfortable during extended use without causing blisters, hotspots, or pinching. They should flex naturally with your feet, have softened materials, visible creases, and provide consistent support and grip on uneven terrain.
What mistakes should I avoid during the breaking-in process?
Avoid skipping the breaking-in phase, overloading weight too soon, wearing improper socks, or rushing the process. Additionally, neglecting to adjust laces can create pressure points, while using shortcuts like heat can damage the boots.
Why is choosing the right fit important when breaking in hiking boots?
A proper fit ensures the boots mold to your feet correctly, preventing discomfort and injuries. Choose boots that feel snug yet comfortable, with enough room for toe movement. Try them on in the afternoon when feet are slightly swollen to get the most accurate fit.
Can I use regular socks instead of hiking socks for breaking in boots?
It’s best to use hiking socks during the breaking-in process. Hiking socks are designed to reduce friction, wick moisture, and provide cushioning, all of which help prevent blisters and enhance comfort while adapting your boots to your feet.