

Key Takeaways
- Properly fitting hiking boots are essential for comfort, injury prevention, and better performance on trails.
- Key factors for a good fit include sufficient toe space, appropriate width, secure heel fit, and adequate ankle support.
- Measuring your feet accurately and referencing sizing charts ensures you choose the right size and width for your hiking boots.
- Evaluating the fit by testing for pressure points, walking on various surfaces, and using the correct socks/insoles is crucial.
- Address common fit issues like tightness, looseness, or hotspots with proper lacing techniques, insoles, and moisture-wicking socks.
- Gradually breaking in new hiking boots through indoor wear, short walks, and uneven terrain helps improve comfort and prevent blisters.
Finding the perfect fit for hiking boots can feel like a daunting task, but trust me, it’s worth the effort. There’s nothing worse than heading out on a trail only to end up with blisters, sore feet, or worse—an adventure cut short. The right fit isn’t just about comfort; it’s about keeping your feet happy and ready for whatever the trail throws your way.
Importance Of Properly Fitting Hiking Boots
Wearing hiking boots that fit properly prevents discomfort during hikes. Ill-fitting boots can cause blisters, hotspots, and even long-term foot issues. A snug fit ensures your feet stay stable, reducing the risk of sprains or injuries on uneven terrain.
Properly fitting boots improve hiking performance. They allow your feet to move naturally while providing the necessary support for challenging trails. With the right fit, you can hike longer distances without excessive fatigue or pain.
Good-fitting boots protect feet from external elements. Gaps allow dirt, water, and debris to enter, potentially irritating your skin. When boots conform well to your feet, they effectively seal out unwanted materials, keeping feet dry and clean.
Choosing the correct fit minimizes the chances of toenail injuries. Tight boots put unnecessary pressure on your toes, especially during descents. Sufficient space in the toe box prevents bruising and maintains comfort even on steep trails.
Prioritizing fit ensures long-term hiking comfort. Feet swell during extended activities, and the right boots accommodate this natural change without compromising performance. Having well-fitting boots enhances both short hikes and multi-day treks.
Key Factors For A Good Fit
A good fit in hiking boots ensures comfort and prevents foot issues during outdoor activities. I focus on specific elements like length, width, and heel fit to maintain proper support over varied terrain.
Length And Toe Space
The right boot length allows your toes to move freely without hitting the front. I make sure there’s about a thumbnail’s width of space between my longest toe and the boot’s end. This helps accommodate foot swelling and downhill pressure, reducing the risk of blisters or black toenails.
Width And Arch Support
Proper width avoids pinching or sliding inside the boot. I check for a snug fit across the widest part of my foot without tight spots. For arch support, I look for boots designed to match my foot’s natural curve, ensuring even weight distribution and reducing strain during long hikes.
Heel Fit And Ankle Support
A secure heel fit prevents slipping, which can cause blisters. I ensure my heel stays in place when walking uphill or downhill. For ankle support, I choose boots with a padded collar and firm structure that keeps my ankles stable on uneven surfaces, minimizing the risk of sprains.
How To Measure Your Feet For Hiking Boots
Accurate measurements ensure hiking boots fit properly and prevent discomfort. Using the right tools and techniques can make the process simple.
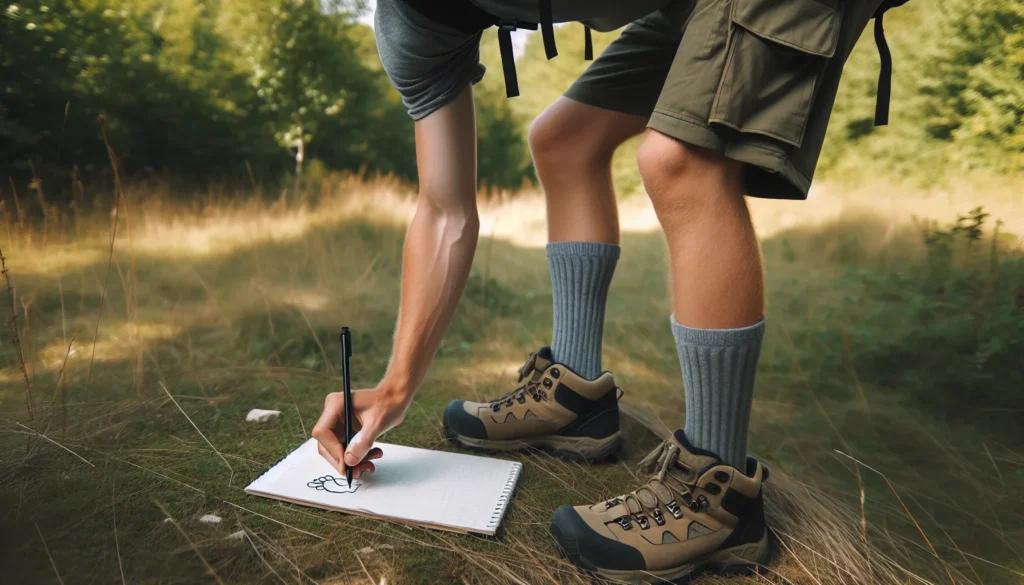
Measuring Foot Size And Width
I start by tracing my feet on a piece of paper while standing, as this captures their full size when bearing weight. Using a ruler, I measure the distance from the heel to the longest toe to determine the length. I also measure the widest part of my foot to find the width.
Repeating this process for both feet helps, since one foot may be slightly larger. I always use my larger foot’s measurements for better comfort during hikes. It’s also helpful to measure while wearing hiking socks to account for their thickness.
Understanding Boot Sizing Charts
Once I have my foot measurements, I compare them to hiking boot sizing charts provided by manufacturers. These charts often include foot length and width measurements, along with conversions to standard shoe sizes. Sizes can vary between brands, so I always reference the chart specific to the brand I’m considering.
I also check for indicators like “wide” or “narrow” within the sizing information to match my foot’s shape. If between sizes, I choose the larger size to accommodate swelling and thicker socks during long hikes.
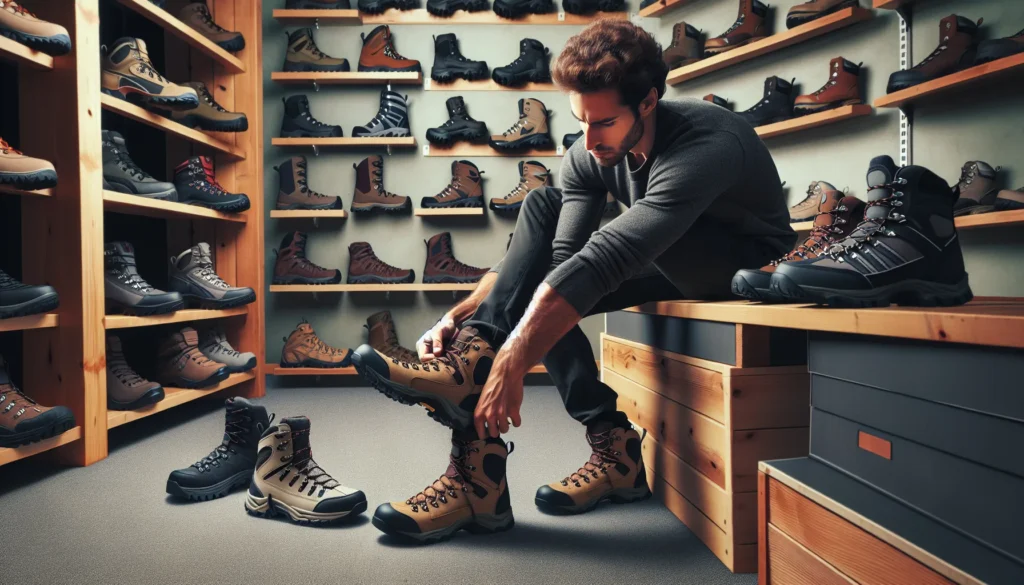
Evaluating Fit When Trying On Hiking Boots

A thorough evaluation ensures hiking boots provide comfort and support during on-trail activities. I’ll cover critical steps to check the fit properly.
Checking For Pressure Points
I assess pressure points by standing and shifting my weight in the boots. Any pinching, tightness, or discomfort, especially across the toes or along the sides, indicates the fit is off. I focus on points where straps, stitching, or rigid panels touch my feet, ensuring no irritation occurs. A properly fitting boot should feel snug but never constrictive.
Testing Fit With Socks And Insoles
I test the boots wearing hiking socks and insoles I typically use. Thicker hiking socks can affect the fit, while insoles alter the arch support and interior space. I slide my foot into the boot, paying attention to whether the socks or insoles cause any tightness or require a size adjustment. If I’m adding custom insoles, I ensure they fit without affecting the overall comfort.
Walking And Flexing The Boots
I walk around on different surfaces to mimic trail conditions, checking the boot’s flex and fit. During walking, I ensure my toes don’t hit the front and my heel stays secure to avoid blisters. I also test the boots by stepping on inclines or stairs, ensuring they perform well under varying pressure points and foot movements.
Common Fit Problems And Solutions
Finding the right fit for hiking boots can be challenging, and minor discomforts can lead to bigger problems on the trail. Knowing how to address common fit issues ensures a safer and more enjoyable hiking experience.
Tight Or Loose Fit Issues
Improper boot tightness often causes discomfort or instability. A tight fit compresses the toes and restricts blood flow, leading to numbness or bruised toenails. Loose boots, on the other hand, allow excessive foot movement, causing friction and reducing overall control. For hiking, aim for a snug fit throughout the boot without pressure points.
Adjustable lacing techniques help resolve tight or loose fits. For tightness in the toe box, loosen laces near the forefoot while keeping the ankle secure. For loose heels, use a heel-lock lacing method to tighten the fit around your ankle. If adjusting laces doesn’t work, consider trying insoles for a better fit or exploring different boot sizes or widths.
Addressing Blisters And Hot Spots
Blisters and hot spots result from friction between your foot and the boot. Excessive rubbing, especially during long hikes, creates irritation, leading to painful skin damage. To prevent and manage these problems, first, ensure the boots fit well and leave some room for foot swelling.
Wearing moisture-wicking socks and applying anti-blister balms reduces friction buildup. When you notice a hot spot forming, stop immediately and apply moleskin or bandages to protect the area. Using boots with padded linings and seamless construction further minimizes the risk of blisters during extended treks.
Tips For Breaking In New Hiking Boots
Breaking in new hiking boots prevents discomfort on the trail and allows the boots to conform to your feet. It’s essential to follow a gradual process to avoid pain or blisters during your hikes.
- Start Indoors: I wear new boots inside my home for short periods. This helps me get used to the fit and ensures no immediate discomfort before transitioning to outdoor use.
- Use Proper Socks: I always pair my boots with the same socks I plan to wear on hikes. This simulates trail conditions and ensures a better fit during the break-in process.
- Gradually Increase Wear Time: I begin with short walks around the block or on flat surfaces, increasing distance and intensity gradually over several days. This minimizes stress on my feet while adapting to the boots.
- Test on Uneven Surfaces: I walk on uneven terrain like grass, gravel, and small hills to mimic trail conditions. This helps the boots flex and adapt to natural foot movements.
- Adjust Lacing Regularly: I experiment with different lacing techniques to improve comfort and reduce pressure on specific areas of my feet during the break-in.
Consistent breaking-in not only enhances comfort but also ensures the boots perform well on longer, tougher hikes.
Conclusion
Finding the perfect fit for hiking boots is all about taking the time to understand your feet and how they interact with the boots. It’s not just about comfort—it’s about ensuring your adventures are safe and enjoyable. A well-fitted pair of hiking boots can make all the difference when you’re out on the trail, whether it’s a short day hike or a multi-day trek.
Don’t rush the process of choosing, testing, and breaking in your boots. Your feet will thank you when you’re tackling challenging terrain with confidence and ease. Happy hiking!
Frequently Asked Questions
Why is it important to find the right fit for hiking boots?
A proper fit in hiking boots is crucial to ensure comfort, prevent blisters, and reduce the risk of injuries. Well-fitting boots improve hiking performance, protect against external elements, and accommodate foot swelling during long treks, ensuring a more enjoyable experience.
How much space should there be at the front of hiking boots?
You should have about a thumbnail’s width of space between your toes and the front of the boot. This allows for natural foot swelling and prevents your toes from hitting the front during downhill hikes.
How do I measure my feet for hiking boots?
Trace your feet while standing to measure their full size, including the length from heel to the longest toe and the width at the widest part. Measure both feet and use the larger foot’s size when choosing boots for maximum comfort.
Should I try on hiking boots with my hiking socks?
Yes, trying on hiking boots with the socks you plan to wear while hiking is essential. This ensures an accurate fit and avoids discomfort caused by inconsistencies in sock thickness.
How can I test if hiking boots are the right fit?
Check for any pressure points by standing and shifting your weight. Walk on different surfaces, mimic trail conditions, and ensure the boots feel secure without pinching or excessive movement.
What can I do if my boots feel too tight or loose?
If your boots are tight, consider loosening the laces or trying a larger size. For loose boots, use adjustable lacing methods or try adding insoles. Ensure the fit is snug but still comfortable.
How can I prevent blisters while hiking?
Wear moisture-wicking socks, use anti-blister balm, and pay attention to any hot spots during hikes. Address discomfort immediately with padding or adjustments to prevent blisters from forming.
Why is breaking in hiking boots important?
Breaking in ensures your boots adapt to your feet, reducing the risk of discomfort or injuries on the trail. Gradually wear them indoors, increase use over time, and test them on uneven surfaces.
How long does it take to break in a pair of hiking boots?
The time varies but typically takes a few days to weeks of gradually increasing wear. Consistent use during short walks or hikes helps expedite the process.
Can insoles improve the fit of hiking boots?
Yes, insoles provide additional arch support and can help adjust fit issues like tightness or looseness. They distribute weight evenly, enhancing comfort on long hikes.